If your car is broken down and you want to get rid of it quickly, you have several options nearby. Junkyards (also called salvage yards) and online car-buying services are your best bet. These businesses specialize in purchasing non-running vehicles for their parts or scrap metal value. Your payout will depend heavily on the car's make, model, year, and the current value of its recyclable materials. While you won't get top dollar, it's a straightforward way to free up space and get some cash.
The core factor determining your car's value is its salvage value—essentially what its parts and raw materials are worth. A newer luxury car with expensive, undamaged components will fetch more than an old compact car with a seized engine. Here's a rough idea of how different types of broken-down cars might be valued, though offers can vary significantly by buyer:
| Vehicle Condition / Type | Estimated Payout Range (Varies by Buyer) | Primary Buyer Motivation |
|---|
| Older car with major engine/transmission failure | $300 - $800 | Scrap metal value, core parts |
| Newer model (less than 10 years) with repairable damage | $1,000 - $3,500+ | Usable parts for resale |
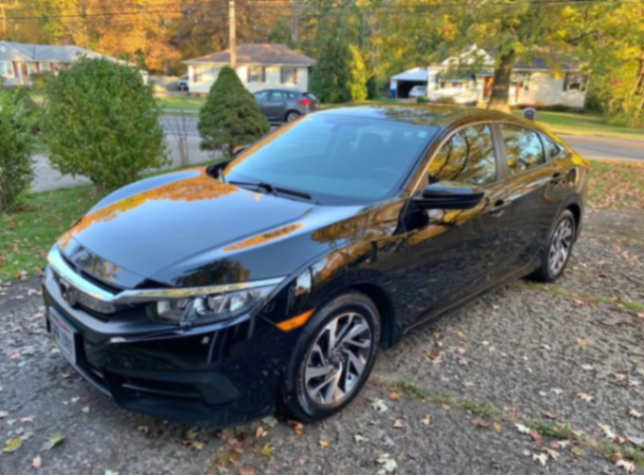
| Popular model (e.g., Honda Civic, Toyota Camry) | $500 - $2,500+ | High demand for parts |
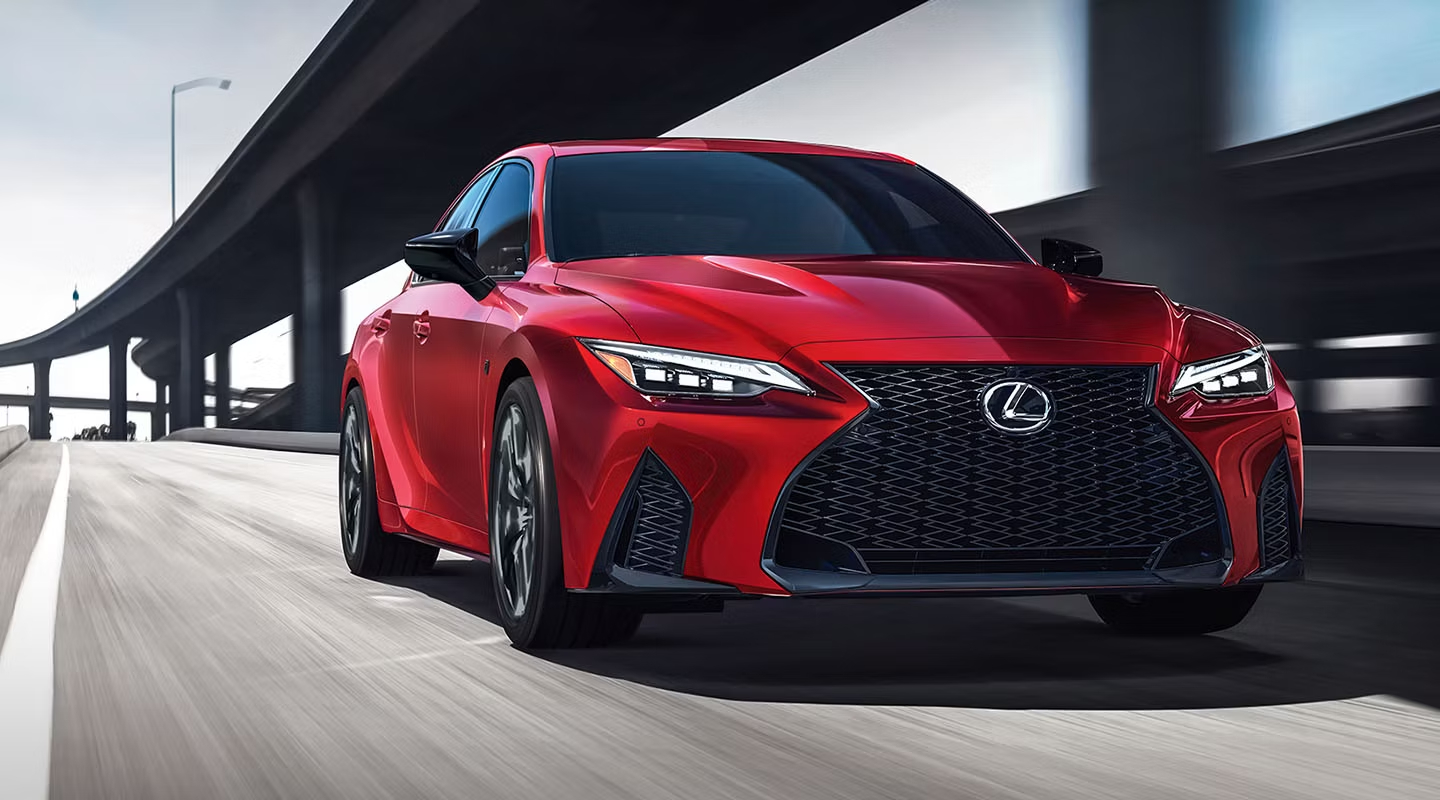
| Luxury vehicle (non-running) | $1,500 - $5,000+ | Valuable electronic/mechanical components |
| Car with extensive body damage but running engine | $400 - $1,500 | Engine/transmission as a "core" |
To find these buyers, a simple online search for "junk car buyer near me" or "sell my non-running car" will yield local results. Services like Peddle or Copart often provide online quotes and can arrange pickup. Always get multiple offers, have your car's title ready, and remove all personal belongings before the pickup is scheduled.