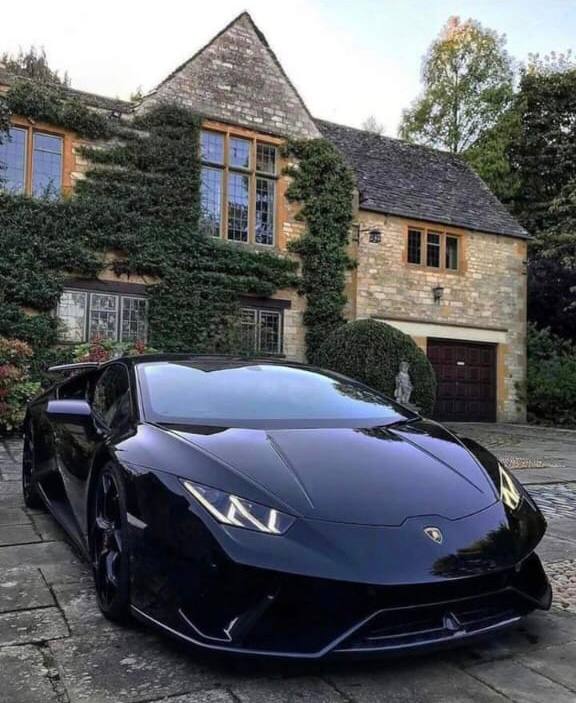
Yes, you can successfully spray paint a car bumper at home with careful preparation, the right materials, and patience. The key to a professional-looking finish is not the painting itself but the extensive prep work, including cleaning, sanding, and priming. Rushing these steps is the most common reason for poor results like peeling or orange peel texture.
Preparation is 90% of the Job
Start by removing the bumper from the vehicle if possible. This allows you to paint all edges and avoid overspray on the car's body. Thoroughly clean the bumper with a wax and grease remover to eliminate any contaminants that could cause adhesion issues. Next, sand the entire surface with a 600-grit sandpaper to create a "tooth" for the new paint to grip. For any deep scratches, use a finer grit (like 1000-grit) to feather the edges. After sanding, clean the surface again and apply a plastic adhesion promoter, followed by a high-build primer. Sand the primer smooth once it's fully cured.
| Step | Key Action | Recommended Product/Data Point |
|---|
| 1. Cleaning | Degrease surface | Wax & Grease Remover |
| 2. Sanding | Scuff entire surface | 600-grit Sandpaper |
| 3. Priming | Apply adhesion promoter | 2-3 light coats |
| 4. Paint Mixing | Ratio with thinner | Typically 1:1 paint to thinner |
| 5. Spray Technique | Distance from surface | 6-8 inches |
| 6. Drying Time | Between coats | 10-15 minutes (tack-free) |
| 7. Clear Coat | Number of coats | 2-3 medium-wet coats |
| 8. Final Cure | Full hardness | 24-48 hours (or per product guide) |
Spray Painting Technique
Shake the spray can vigorously for at least two minutes. Practice your motion on a piece of cardboard first. You want to use a sweeping, side-to-side motion, starting the spray before the bumper and ending after it. Apply multiple light coats instead of one heavy coat to prevent runs. Maintain a consistent distance of about 6-8 inches. Allow each coat to become tacky before applying the next. After the color coat has flashed off, apply 2-3 coats of clear coat for depth and protection.
Final Steps and Patience
Let the bumper cure fully for at least 24 hours in a warm, dust-free environment before handling. After curing, you can wet-sand the clear coat with 2000-grit sandpaper and then compound and polish it to achieve a showroom gloss. The entire process takes time, but the DIY satisfaction and cost savings are significant.