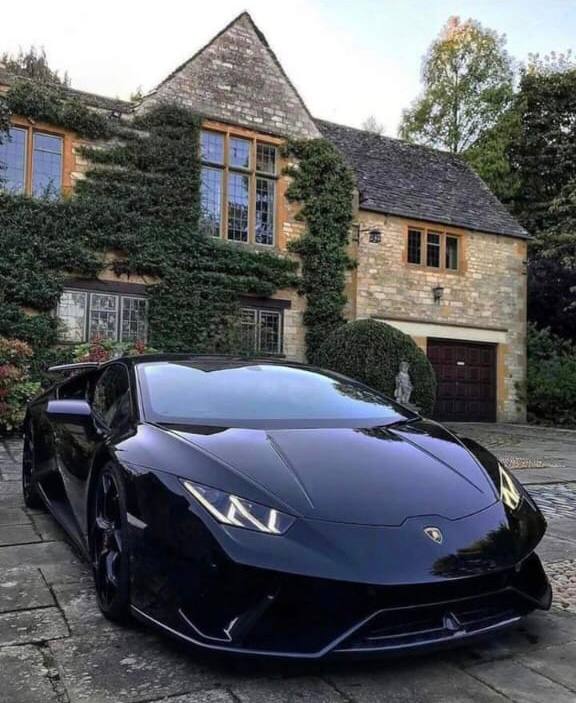
The most effective way to detail your own car involves a systematic approach: working from the top down, using the correct tools for each step, and never cutting corners. A professional-quality detail hinges on decontaminating the paint before waxing and using a two-bucket wash method (one for soapy water, one for clean rinsing) to prevent swirl marks. The core process is wash, decontaminate (clay bar), polish, and protect (wax or sealant). For interior detailing, always work from the top (ceiling, windows) down to the floors to avoid re-soiling cleaned areas.
Before starting, gather your supplies. You'll need car-specific shampoo, microfiber wash mitts and towels, a clay bar and lubricant (to remove embedded contaminants waxing alone can't fix), and a protectant like wax or a synthetic sealant. For the interior, an all-purpose cleaner, a dedicated interior protectant (like a UV-resistant vinyl/plastic dressing), glass cleaner, and a vacuum are essential.
Start with a thorough wash using the two-bucket method. After rinsing, use the clay bar with its lubricant on a cool, shaded surface. Glide it over the paint; you'll feel it grabbing bonded contaminants like tree sap, tar, and industrial fallout. This step is crucial for a perfectly smooth surface. Once the paint is clean and decontaminated, apply your chosen protectant. A synthetic sealant typically offers longer-lasting protection (6+ months) than traditional carnauba wax (3-4 months), but wax can provide a deeper, warmer gloss on darker colors.
For the interior, remove all personal items and thoroughly vacuum. Clean surfaces like the dashboard and door panels with an appropriate cleaner, then apply a protectant to prevent UV damage and cracking. Clean glass last with a streak-free cleaner and a clean microfiber towel. Avoid using household products like laundry detergent on the paint or armor-all on the interior, as they can cause long-term damage.
| Detailing Step | Key Tool/Product | Purpose / Benefit | Estimated Time (Sedan) |
|---|
| Two-Bucket Wash | Microfiber Mitt, Grit Guards | Removes loose dirt without scratching. | 30-45 mins |
| Paint Decontamination | Detailing Clay Bar & Lubricant | Removes bonded contaminants for smooth paint. | 45-60 mins |
| Paint Protection | Synthetic Sealant or Carnauba Wax | Shields paint from UV rays, water spots, and contaminants. | 45-60 mins |
| Interior Vacuuming | Crevice Tool & Brush Attachments | Removes debris from hard-to-reach areas. | 20-30 mins |
| Interior Surface Cleaning | pH-Balanced All-Purpose Cleaner | Safely cleans vinyl, plastic, and leather without damage. | 30-45 mins |
| Glass Cleaning | Ammonia-Free Glass Cleaner | Prevents haze and ensures a streak-free finish. | 15-20 mins |
| Tire & Wheel Cleaning | Dedicated Wheel Cleaner & Brush | Removes brake dust and protects wheel finish. | 20-30 mins |