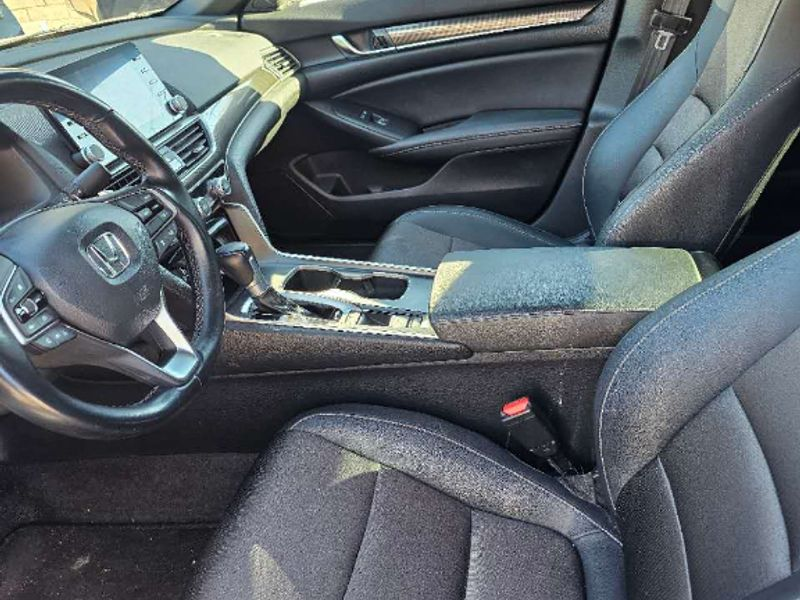
The removal of the door panel for the 10th generation Accord involves the following steps: 1. Pry open the plastic panel at the rear of the door handle and remove the fixing screws; 2. Remove the grille on the door panel and gently pry open the door panel. 3. Pry open all the clips, and similar to ordinary door panels, slightly lift upwards to remove the door panel, then disconnect the cable plugs of each control switch. Below is some related information about the 10th generation Accord: 1. The 10th generation Accord is equipped with a 1.5T turbocharged engine with a maximum power of 143kw and a maximum torque of 260 Nm. The fuel version is equipped with a CVT continuously variable transmission, while the hybrid version is equipped with an E-CVT continuously variable transmission. 2. The dimensions of the Accord are 4893mm in length, 1862mm in width, 1449mm in height, with a wheelbase of 2830mm.

I've taken apart the 10th-gen Accord door panel several times, last time was for a problematic replacement. First, locate the screws correctly: there's a small cover inside the door handle—pry it open to reveal a screw; also, one or two screws are hidden beneath the window control panel. Remove them with a Phillips screwdriver. Then use a plastic pry tool to start from the door panel corners, gently lifting the clips until you hear a click, but don't force it to avoid breaking them. Once the panel loosens, disconnect the wiring inside, like the window switch connector, carefully. The whole process should take under 10 minutes—key is having the right tools: use plastic-headed pry tools to avoid scratching the interior. When reinstalling, align the clips properly until they click into place, then test all functions. It's wise to keep spare clips handy in case any break.

The basic steps for door panel removal start with the screws: Hidden screws are located near the door handle and window controls of the 10th-gen Accord. Unscrew them all and store them safely to avoid loss. Then, use a pry tool to gently release the clips along the door panel edges, applying light pressure to prevent plastic deformation or breakage. Once the clips are loosened, the panel will lift slightly—but don’t pull it away yet. Disconnect the wiring harness connectors, especially the power cables. For tools, prepare a Phillips screwdriver and plastic pry bars, and wear gloves to reduce slipping risks. Be cautious of the panel’s weight during removal to prevent drops. After reassembly, test the switches and functionality. If clips are severely damaged, replace them promptly to avoid rattles.

I often modify my car myself, and removing the 10th-gen Accord's door panel is quite easy. Locate the screws under the door handle and switch panel, unscrew them, then use a plastic pry tool to start prying up the clips from the bottom corner. Stop when you hear a pop sound. Next, handle the wiring harness by unplugging it. The whole process is quick, so beginners shouldn't rush. Avoid using metal tools as they can easily scratch the paint.

When removing the 10th-generation Accord door panel, safety comes first: disconnect the negative terminal before operation to avoid electrical short circuits. Screws are typically located in the door handle recess and beneath the armrest. After removing all screws, gently pry the clips from the edges using a flat tool to prevent scratches. There are wiring harnesses connected to the control system at the bottom of the panel—disconnect the plugs steadily without forceful pulling. Before reinstallation, inspect clips for damage and repair promptly to prevent rattles. This process takes about 15 minutes and requires focus—I’ve encountered broken clips before, so keeping a few spares on hand saves hassle.

Previously, my 10th-gen Accord had a rattling door panel, so I tried to disassemble it for inspection. First, locate the screw points: one or two screws each inside the door handle trim and below the window control area, then unscrew and store them safely. Next, use a plastic pry tool to gently release the clips starting from the door corner, lifting them point by point. The clips are fragile, so proceed slowly. Once the door panel is loose, handle the wiring—for example, unplug the switch connectors with a gentle pull. The entire process is straightforward and not complicated, requiring only a basic toolkit. After removal, clean off dust and lubricate the clips to prevent wear. Keep the process within 15 minutes, and after reassembly, test functions like the switches and horn.