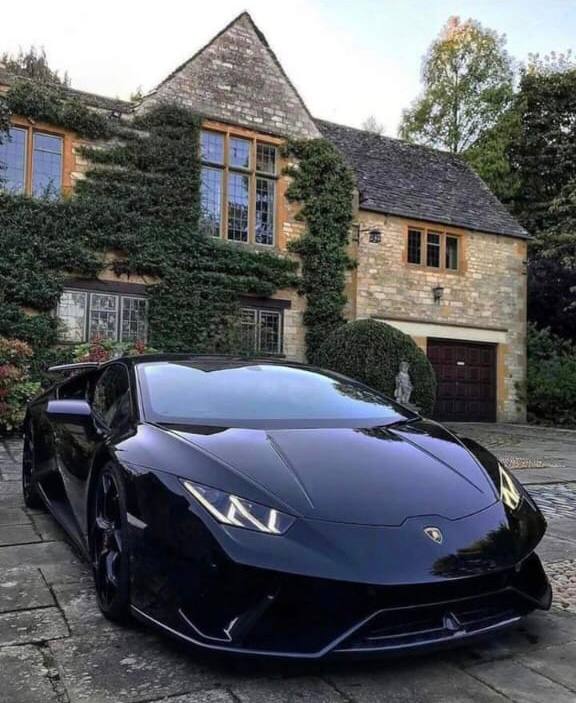
Blending touch-up paint on a car is a delicate process of feathering the new paint into the surrounding factory finish to minimize the appearance of a repair. The core steps involve thorough cleaning, gentle sanding of the chip and its edges, applying the paint in thin layers, and finally blending and polishing the area. The goal isn't to make the repair invisible but to make it far less noticeable from a few feet away. Success heavily depends on the age and color of your car's paint; metallics and pearls are significantly more challenging to blend than solid colors.
Essential Supplies:
- Touch-up paint (preferably OEM match)
- Automotive soap and water
- Isopropyl alcohol or wax/grease remover
- Lint-free microfiber towels
- Fine-grit sandpaper (2000-3000 grit)
- A soft blending pad or a foam applicator
- Automotive polish and compound
- Dual-action polisher (recommended for best results) or clean towels for hand polishing
First, clean the scratch and surrounding area with soap and water, then wipe it down with isopropyl alcohol to remove all wax and contaminants. This is non-negotiable for proper paint adhesion. Next, using a small piece of 2000-grit sandpaper, lightly sand the inside of the chip to remove any rust or debris. Then, gently feather the hard edges of the chip by sanding in a circular motion beyond the chip's border. The goal is to make the transition from the chip to the clear coat feel perfectly smooth to your fingertip.
Apply the touch-up paint in several thin layers, using the tip of a toothpick or a fine brush. Do not try to fill the chip in one go. Allow each layer to dry completely according to the paint's instructions—this can take hours. Once the paint is slightly higher than the surrounding surface, it's time for the final blend. After the paint has fully cured (usually 24-48 hours), use 3000-grit sandpaper with plenty of water to carefully level the touch-up paint until it is flush with the clear coat. Follow this by using a polishing compound on a blending pad to restore gloss to the sanded area, and finish with a coat of polish. This process removes the sanding marks and blends the sheen.
| Factor | Easy to Blend | Difficult to Blend | Notes |
|---|
| Paint Type | Solid Colors (Red, Black, White) | Metallics, Pearls, Tri-Coats | Metallics have flakes that align during factory application, which is impossible to replicate by hand. |
| Paint Age | Newer Cars (1-3 years) | Older Cars (5+ years) | Older paint has faded, making a perfect match unlikely. A professional may be needed. |
| Chip Size | Small stone chips ( < 1/4 inch) | Large scratches or deep gouges | Larger areas often require professional spray equipment for an acceptable result. |
| Location | Lower doors, bumper | Hood, roof, large flat panels | Repairs on prominent, highly visible areas are more noticeable. |
| Skill Level | Patient DIYer with polish | First-time user, impatient approach | Rushing the drying or sanding steps is the most common cause of a botched repair. |