Yes, you can replace most car headlight bulbs yourself with basic tools, saving between $50 to $150 in labor costs. The process is straightforward for many modern vehicles, requiring about 30 to 60 minutes of your time, a replacement bulb specific to your car model, and common tools like gloves and screwdrivers.
Success depends on your vehicle's design. Many cars allow bulb access from behind the headlight assembly in the engine bay. However, some models require partial bumper or wheel liner removal, significantly increasing complexity. Always consult your owner’s manual first for the correct bulb type (e.g., H11, 9005, LED module) and any specific warnings.
Essential Tools and Precautions:
Wearing gloves is crucial. Skin oils on halogen bulbs can create hot spots, leading to premature failure or glass cracking. Use the correct tools to avoid stripping screws. A basic toolkit for most jobs includes:
| Tool/Item | Purpose |
|---|
| Latex or Nitrile Gloves | Protect bulb from skin oils. |
| Phillips & Flathead Screwdrivers | Remove trim clips and screws. |
| Socket/Wrench Set | For battery terminal or assembly bolts. |
| New Bulb (Correct Part #) | Ensure compatibility and beam pattern. |
| Rubbing Alcohol & Microfiber Cloth | Clean bulb glass and housing connector. |
Step-by-Step Guide:
- Disconnect the Battery: Always start by disconnecting the negative battery terminal to prevent short circuits.
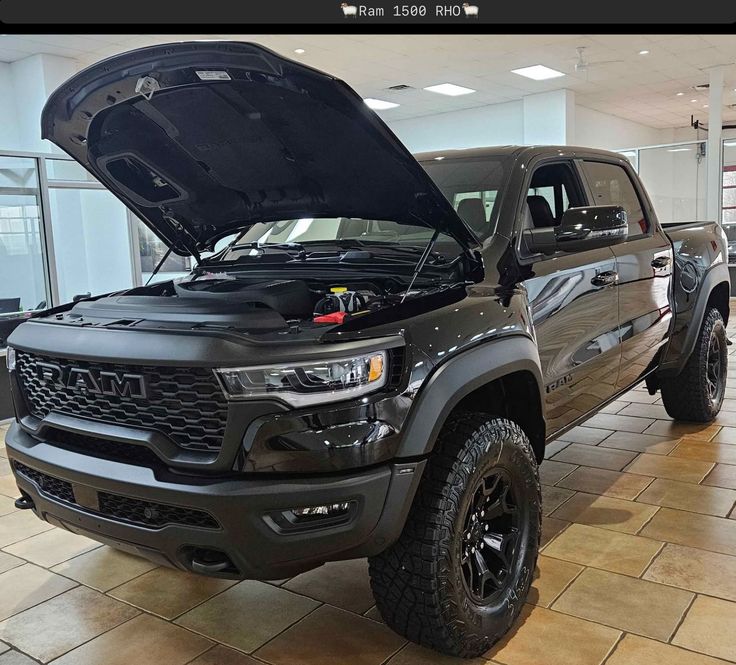
- Access the Bulb: Open the hood and locate the back of the headlight assembly. Remove any dust cover, then unplug the wiring harness connector by pressing the release clip.
- Remove the Old Bulb: Release the metal or plastic retainer clip holding the bulb. Avoid twisting halogen bulbs forcefully; gently pull straight back.
- Install the New Bulb: Without touching the glass, insert the new bulb exactly as the old one was positioned. Re-secure the retainer clip, reconnect the wiring harness, and replace the dust cover.
- Test and Align: Reconnect the battery. Test the headlights before reassembling any trim. Check the beam alignment on a flat surface against a wall; improper installation can cause misalignment and blind other drivers.
If you encounter excessive rust, broken clips, or need to remove major body parts, consider professional help. Industry repair data indicates that for over 15% of vehicles, primarily those with complex sealed assemblies or tight engine bays, professional service is the more pragmatic choice to avoid costly damage.